Monday, March 27, 2006


Psst!!! I heard a rumor....... Spring is coming.


Wednesday, March 08, 2006

If composting isn't the number one thought in that part of your brain that controls the gardening impulse it better get there soon, ask most any gardener and they'll probably go on and on about how important compost is to their life as a gardener. If you don't have a composting system......shame on you. Build one, buy one, just get one. It can be a simple pile, an expensive compost tumbler with a crank that you turn every other day, a 3 compartment bin system made out red wood 2x4's or just an inexpensive chicken wire enclosure. The key words here are Nitrogen and Fertilizer- au natural. These things are the magic that is gardening. So if you don't have some sort of compost pile get started soon, your garden is gonna love you for it.

remember...........

RULE #1 no meat,bones, processed left-over foods like pasta, fats, oils, grease,
diseased plants, infested plants or herbicide/pesticide treated grass clippings. I think it goes w/out saying....no kitty or doggie stuff in there, okay? okay.
RULE #2 do use, untreated grass clippings, kitchen vegetable and fruit waste, coffee grounds
and egg shells. Throw in some of last falls shredded leaves. Your pile will need some brown matter to go with all that green stuff.
RULE #3 turn your pile..... The little organisms that are responsible for breaking the
compost down need oxygen to breathe and a little H2O never hurts.

A word about animal waste and Temps-- if you use the droppings from an animal that
doesn't eat meat you should be okay. A good pile should reach at least 105*F, however 115*F-120*F is even better because there are beneficial bacteria that don't come out to play in your pile till the temps get to at least 105*F. Fresh manures can supply your pile with much needed heat to burn up the weed seeds and decompose all that good green matter. If you know someone with a horse or cow or two,offer to take the droppings, your garden will reward you for your effort, it's a small sacrifice you must be willing to make for healthy plants. Besides, if given a choice wouldn't you much rather be behind a horse than a city bus? And don't fret if you can't be the world's best compost maker, Mother Nature will do the job for you, it'll just take her longer.

Friday, February 24, 2006

Before we all hear the call of the wild and are drawn to our gardens I highly recommend reading Michael Pollan's book "The Botany of Desire" a plant's-eye view of the world. It's been on the National Bestseller list but some how I missed it.....probably because I've been stuck in reference manuals or weedin' and waterin' in the garden. It's a very interesting read about the reciprocal relationship between plants and people. He shines light on the question, Did we domesticate plants or did they domesticate us?

Thursday, February 16, 2006


Wisteria..... to tame the savage beast
Yes we've all heard the nightmares, yet this plant can be controlled with as little as 2 prunings per year. Just like a bad kid, this tough guy cries out for attention and if it doesn't get it.....well we know the troubles of Wisteria. Before starting, there's a few things you have to know, Wisteria is very hard to kill by improper pruning, so if you make a major faux pas your plant will forgive you by sending up new shoots. Even the suckers can be trained to form a new vine.If you're not very experienced with pruning this is the best plant I know to make a lot of mistakes on, after all this plant grows like it's on steroids so as I say "don't sweat da small stuff". Your foray into the world of pruning starts after the plant has flowered. What you want to do first is look at the vines with new eyes and from different directions if possible. Determine the direction you want it to grow and establish what shoots you want to be the boss, this usually is the thickest shoots, the main framework of the plant. Now get your clippers in hand and get in there and start thinning out a lot of stuff especially if your plant is old and overgrown. You want to leave a proportionate number of new shoots about 6 inches long on the vine[s] 'cause this is where you'll get blooms in the Spring. When you got this guy lookin thin and naked that's when you're finished part one of the taming of the Wisteria. Part two is my favorite part and it should be done at this time of year. Again you'll see your wisteria is rather unruly, but it's easier to see what you're doing 'cause the plant is naked and the framework is exposed. Get your trusty clippers and cut those long shoots that have grown since the summer, pruning down to 3-5 buds. Now your plant is ready to do it's best, to put on a show. With out all that vegetative growth the plant will put more energy into flower production and "that's what it's all about".

Friday, February 10, 2006

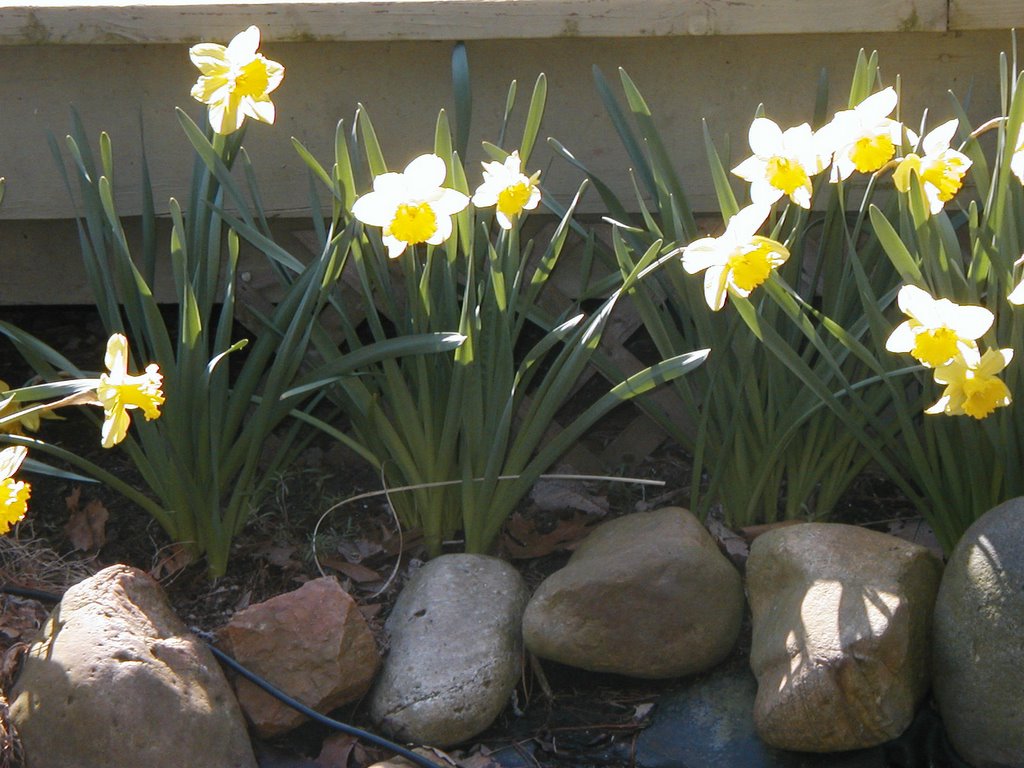
Daffodils the "forget about it" plant
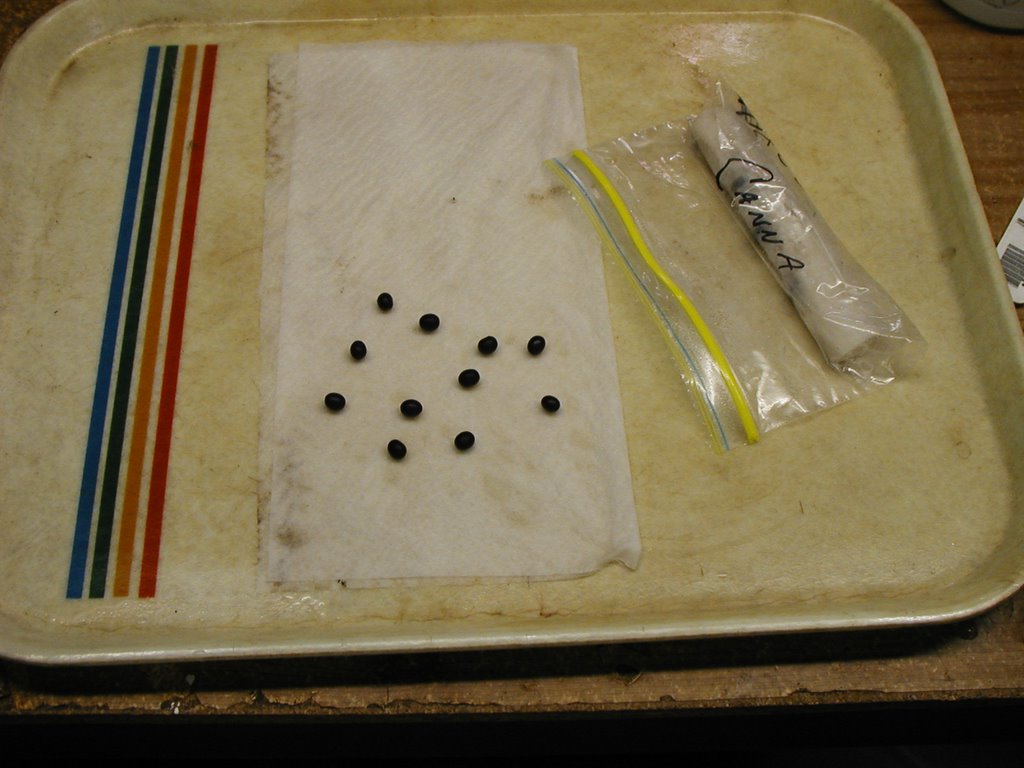
I got a frantic phone message from a friend concerned that all her Daffodils were up and we're gonna get 8" to 12" of snow this weekend and all her work she did planting them last October was gonna be for naught. I e-mailed her and told her to read this here Blog......

Daffodils and other "true bulbs" are some tuff-darn plants. Some where I have some pictures of my Daffodils blooming in 3" of snow. If I find them I'll post. If it snows the snow will act as an insulation. The real thing to worry about at this time of year is the air temp and especially the wind chill. Wind chill temps can be hard on newly emerging plants especially new blooms. Heavy frosts can also turn those beautiful yellow flowers brown. Bulbs are a "forget about it" plant. I add more and more daffodil bulbs to my flower beds every autumn and hope by the following spring I've forgotten where I planted them. Then I get pleasantly surprised when they come up in some of the most unlikely of places. I find that if I plant them a little deeper than the recommended 2x the height of the bulb and bunch them closer together they bloom a week or so later and they look naturalized. Bulbs are one of the great gifts here in zone6-zone7 they do very well, and are so darn easy to take care of. Plant them to deep or shallow they seem to do well just put a little compost in the planting hole when you plant them and "forget about it"

Wednesday, February 08, 2006


Cosmos = summer

Monday, February 06, 2006

OK lets talk Dirt february 6, 2006

First things first. Soil is what your plants sit in. Dirt is under your couch or fridge. It's no secret how important soil is. Poets all write highly of it, the Clergy use the wonders of it in most every surmon, gardeners can't ever get enough of it, even brain dead politicians find the word in their speeches that they don't usually write themselves.
I can't remember who said it but, Man owes his very existence to 6" to 8" of topsoil, with out it, we would have a barren planet 'cause most every plant gets all the nutrients it needs in the first 6 to 8 inches of earth. I know what you're thinking....what about the sun and rain, and did you forget hydroponics..... Yes they're important too but we're talking soil here, that old friend that's always there, we can see it, smell it, hold it,stand on it and most important keep it healthy. The sun doesn't shine everyday and we all wish we had a little more rain in say August.
But darn it. I still like "playing in the dirt". I even make soil and that's what this blog is about.

COMPOST: MAKE IT..BUY IT..GET IT... it's the most important element, it's the secret ingredient, everything has a secret ingredient. Just get it in the soil any way you can. Your life depends on. Without healthy plants we'll all die. Just get it in there.......whew.

At this time of year I'm thinking seed starting mix, outdoor container mix, house plant soil and those high priced, so called "Premium Soil Mixes" in bags that we see in the store. Premium my a$$..... I've read independant findings that say what's on the label ain't always in the bag. So I continue to mix my own.

Potting soil, container soil, house plant soil:

3 parts compost.... you can make it or buy it in bags, just make
sure it's aged.
1 part Spag Peat Moss....I like the kind that's got little chunks
of wood and crumbly stuff in it
1 part Perlite or vermiculite.... for aeration
1 part composted manure.....and for god sake make sure this
stuff is aged.....if not you'll burn the
roots of your plants and you'll be
plagued with nightmares of
hearing your plants scream

Seedlings Mix:
1 part Spag Peat Moss....I like the kind WITH OUT the little
chunks of wood and crumbly stuff.
1 part Pro-Mix......This is a good commercial product if you
can get it wet and keep it wet.

Seed starting mix: 1 part sifted Spag Peat Moss....I sift my own Peat. I guess
you could buy a more
refinded Peat Moss but
where's the fun in that.
1 part perlite....
1 part vermiculite
1 part H2O....
note: my seed starting mix is actually a soil-less sterile mix. I mix up batches as
needed. I mix all the dry ingredents in a 1 gallon food storage bag then mix
the water in throughly. This mix is for seed germination only, after the
seedlings get their 1st set of true leaves they're hungry and looking for
something to eat so pop those little suckers out of there and get them in
the Seedling Mix. And don't pick them up by the stems that's what the
leaves are for, even the mightiest Oak tree is fragile at this stage so be
careful. Also don't get cute and give them babies any chemical fertilizers
you'll have plenty of time to force-feed these plants later.

The Final Ingredient: 1 part FUN....if it ain't fun it's work.

Friday, February 03, 2006

Friday February 3, 2006 wow 62.5* bright and sunny

Thursday, February 02, 2006


Thursday 02-02-06


FYI
Yes you can germinate canna seeds. Planting the tubers is easier, but the seeds are cheaper,easier to store and send through the mail. The super hard coating needs to be scarified. I rub each seed on 100 grit sand paper until a tiny speck of white shows through. Don't sand the whole seed just concentrate on one area until you see white. Take the sanded seeds and space them on a wet, white paper towel. Roll the paper towel into a tube. Put the rolled up paper towel into a sandwich baggie, then put the whole works on a window sill and check it every other day. The sanded hole lets the moisture in which expands and cracks the hard outer shell. Once the seeds begin to germinate plant them in good potting soil just barely covering the seeds. Keep the soil fairly wet for the first couple of days then water as needed until they're ready to be planted in the ground.

Wednesday, February 01, 2006


Ahhh sometimes I think summer will never get here
rfvgardens Wednesday 1st day of February:
I can't believe this weather 42* and cloudy

Sunday, January 29, 2006

January 29, 2006 unseasonably warm day with showers off and on all day
continued planting of pre-sprouted 'canna seeds in basement

Friday, January 27, 2006

January 27,2006 Bright and clear sunny day 42*